This is Linenna Editorial Department.
Today we will not be talking about laundry, but rather about ironing, which is a necessary care for clothes after washing.
There are probably many people who wear dress shirts (blouses) to work or school.
Ironing clothes with sleeves and buttons, like dress shirts, can be difficult.
It's wrinkled, and on the contrary, it's wrinkled... Don't you feel uncomfortable when you wear a wrinkle-free shirt that has been ironed? Today, I'm going to show you how to iron a dress shirt to get rid of wrinkles, so please try it out.
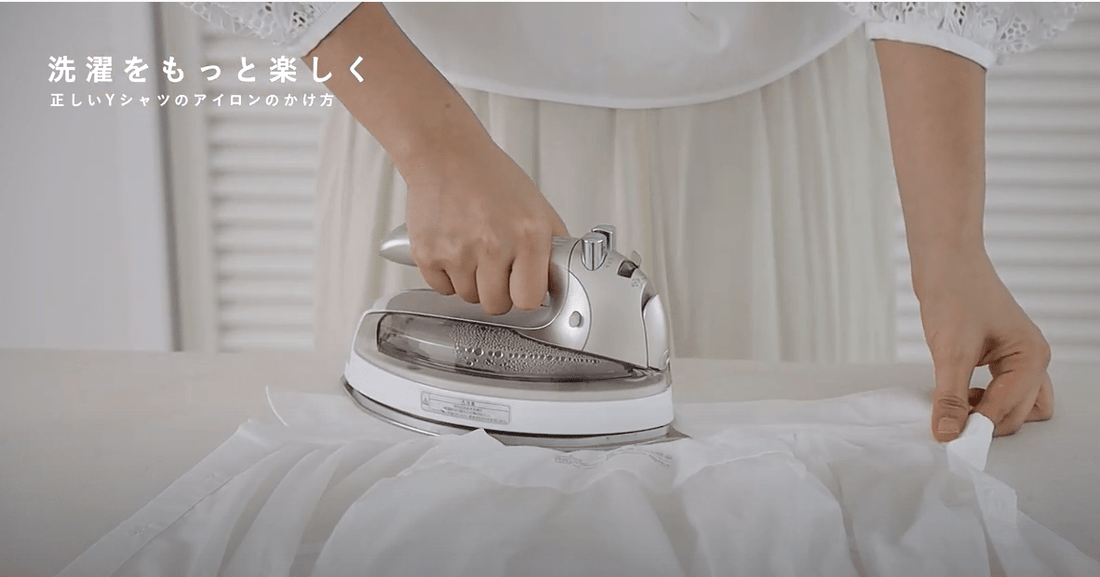
I want to remember it! How to iron | Dress shirt edition
Watch the video on how to iron
Tips on how to iron | Spray the entire surface before ironing

When ironing, wrinkles will be removed better when the item is slightly damp than when it is completely dry.
If your Y-shirt is dry, it's best to spray water all over it with a mist sprayer before ironing it.
It is OK to iron the clothes immediately after washing.
POINT
Some irons are equipped with a steam function, but we recommend using a mist sprayer as this allows you to quickly and evenly moisten the entire surface.Ironing instructions
Iron in the following order: collar → shoulders → cuffs → sleeves → front body (the side with buttons) → back body → front body (the side without buttons) .how to iron collar

The key is to iron from the back side .
・Iron from the edges.
↓
・Finally, iron it in the middle. *Do not iron it from one edge to the other at once, as it will cause the fabric to twist.
How to iron shoulders (yoke)

・Hang the shoulder part on the ironing board and stretch the collar .
↓
・Iron while pulling the fabric with one hand.
↓
・Iron the upper part of the front section.
↓
・Do the same on the other side.
How to iron sleeves and cuffs (cuffs)

Place it on the ironing board by the sides and sleeves, and smooth it out with your hands to make sure there are no wrinkles on the front or back.
If your cuffs have buttons, unbutton them.
Put them on in the order of <cufflinks> → <sleeves>
How to iron | Cufflinks

Iron the cufflinks from the back to the front.
Spray water on the back of the cufflinks with a sprayer.
↓
Iron from both ends to the center
↓
Finally, iron in the middle
↓
Next, apply the surface of the cufflinks in the same way.
How to iron | Sleeves

・Align the bottom seams of the sleeves.
↓
・Press the tuck part from above.
↓
- Spread it out with your hands and place it on the ironing board while smoothing out the wrinkles.
↓
- Iron from the wrist to the armpit area.
↓
・Turn it inside out, spray it with a mist, and iron it in the same way.
How to iron the body

We recommend ironing in the following order : <Front body with buttons> → <Back body> → <Front body without buttons> This will prevent wrinkles after ironing, so we recommend ironing in this order.
How to iron | Front section with buttons

Iron the item from the side with the buttons.
・Hang the part with buttons from the back side of the fabric.
↓
・Turn it inside out and iron it while pulling the armpits with your hands. *Be sure to iron the chest area especially since it is the area that stands out when you wear it.
↓
How to iron | Back body
 ・Smooth out all wrinkles with your hands
↓
・Shape the tuck part symmetrically on the left and right sides.
↓
・Put it on while holding it with your hand ↓
How to iron | Front section without buttons
・Iron the placket firmly while holding it in place.↓
・Put the pockets from the edges and iron them in the middle last to avoid wrinkles.
↓
- Hang the item on a hanger immediately after ironing. Folding the item immediately after ironing may cause wrinkles, so please hang it on a hanger for a while.
How was it? Ironing a shirt can be difficult, but if you follow the key points and order, you can get a beautiful finish.
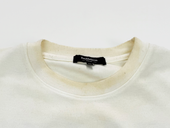
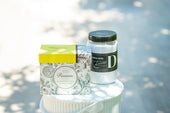
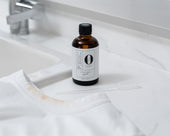
For dark spots on collars and sleeves, we recommend applying Rinenna #2.

Rinenna #2 is a laundry detergent that removes not only yellowing and darkening, but also unpleasant odors such as aging odors.
By reducing the time of tedious massaging and soaking, it removes odors and dirt from clothes.
